PicGo Cloud is PicGo's official cloud service, covering file hosting, config sync, album management, and more. For the full PicGo Cloud documentation, see the PicGo Cloud section.
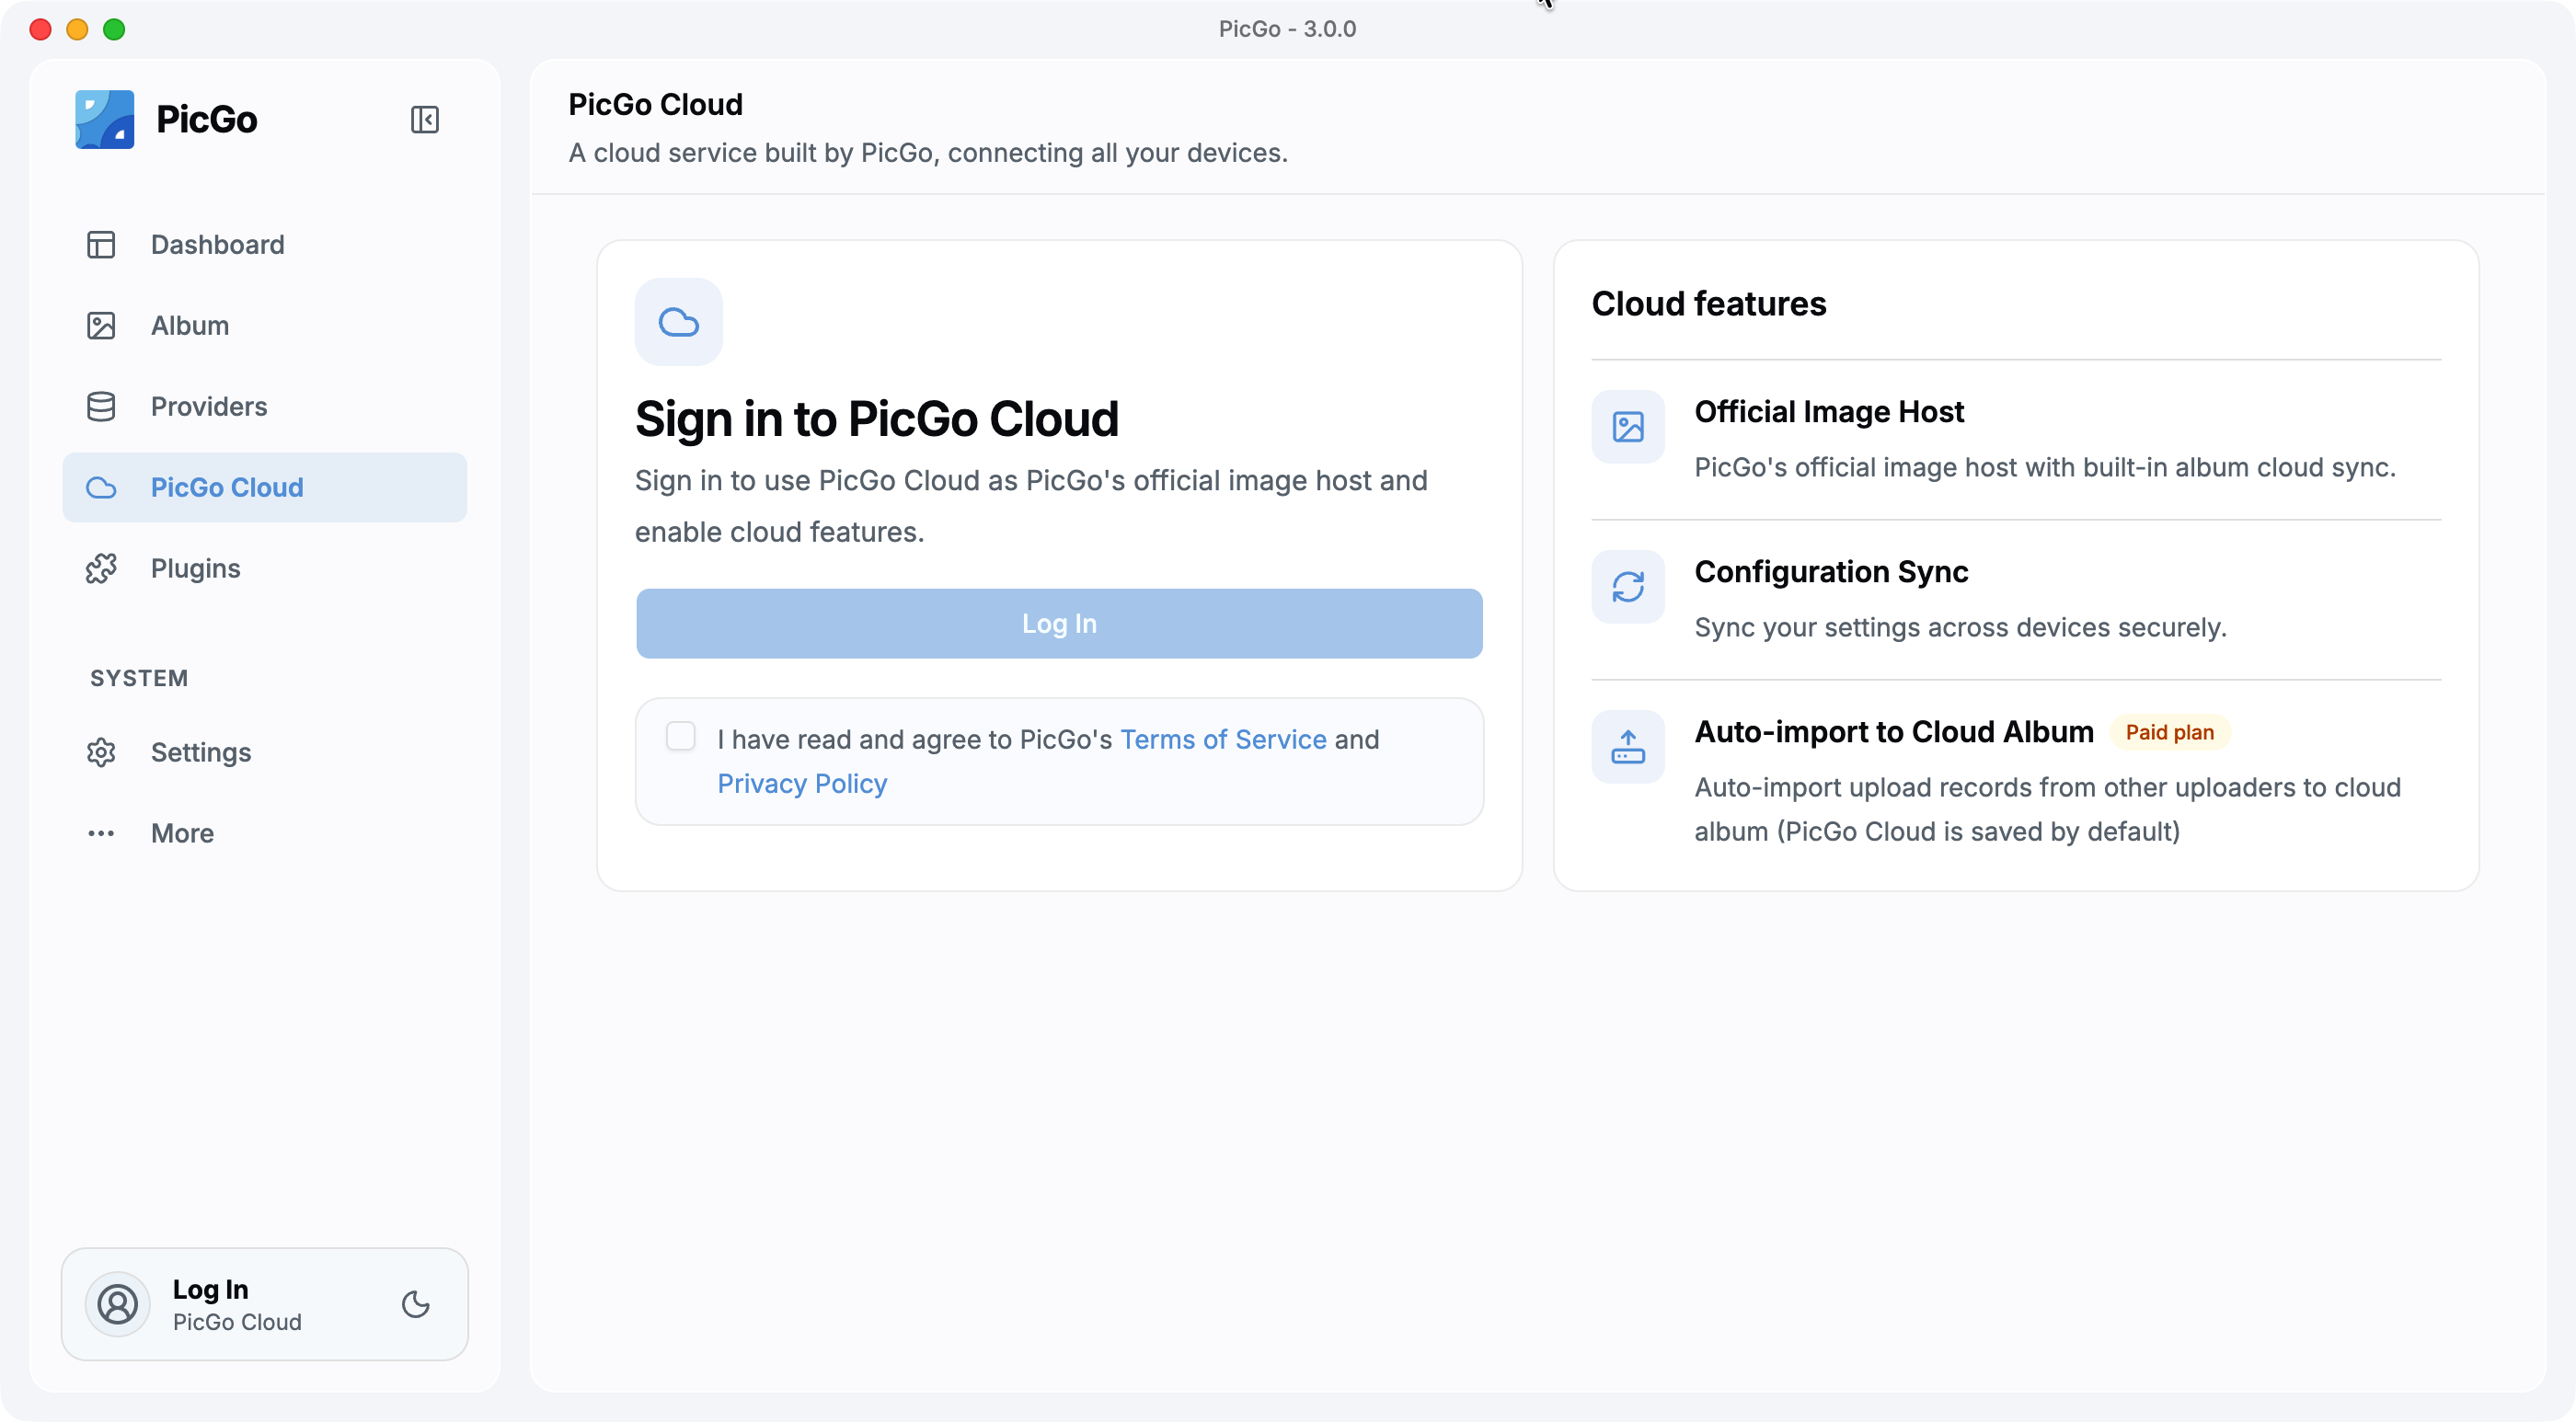
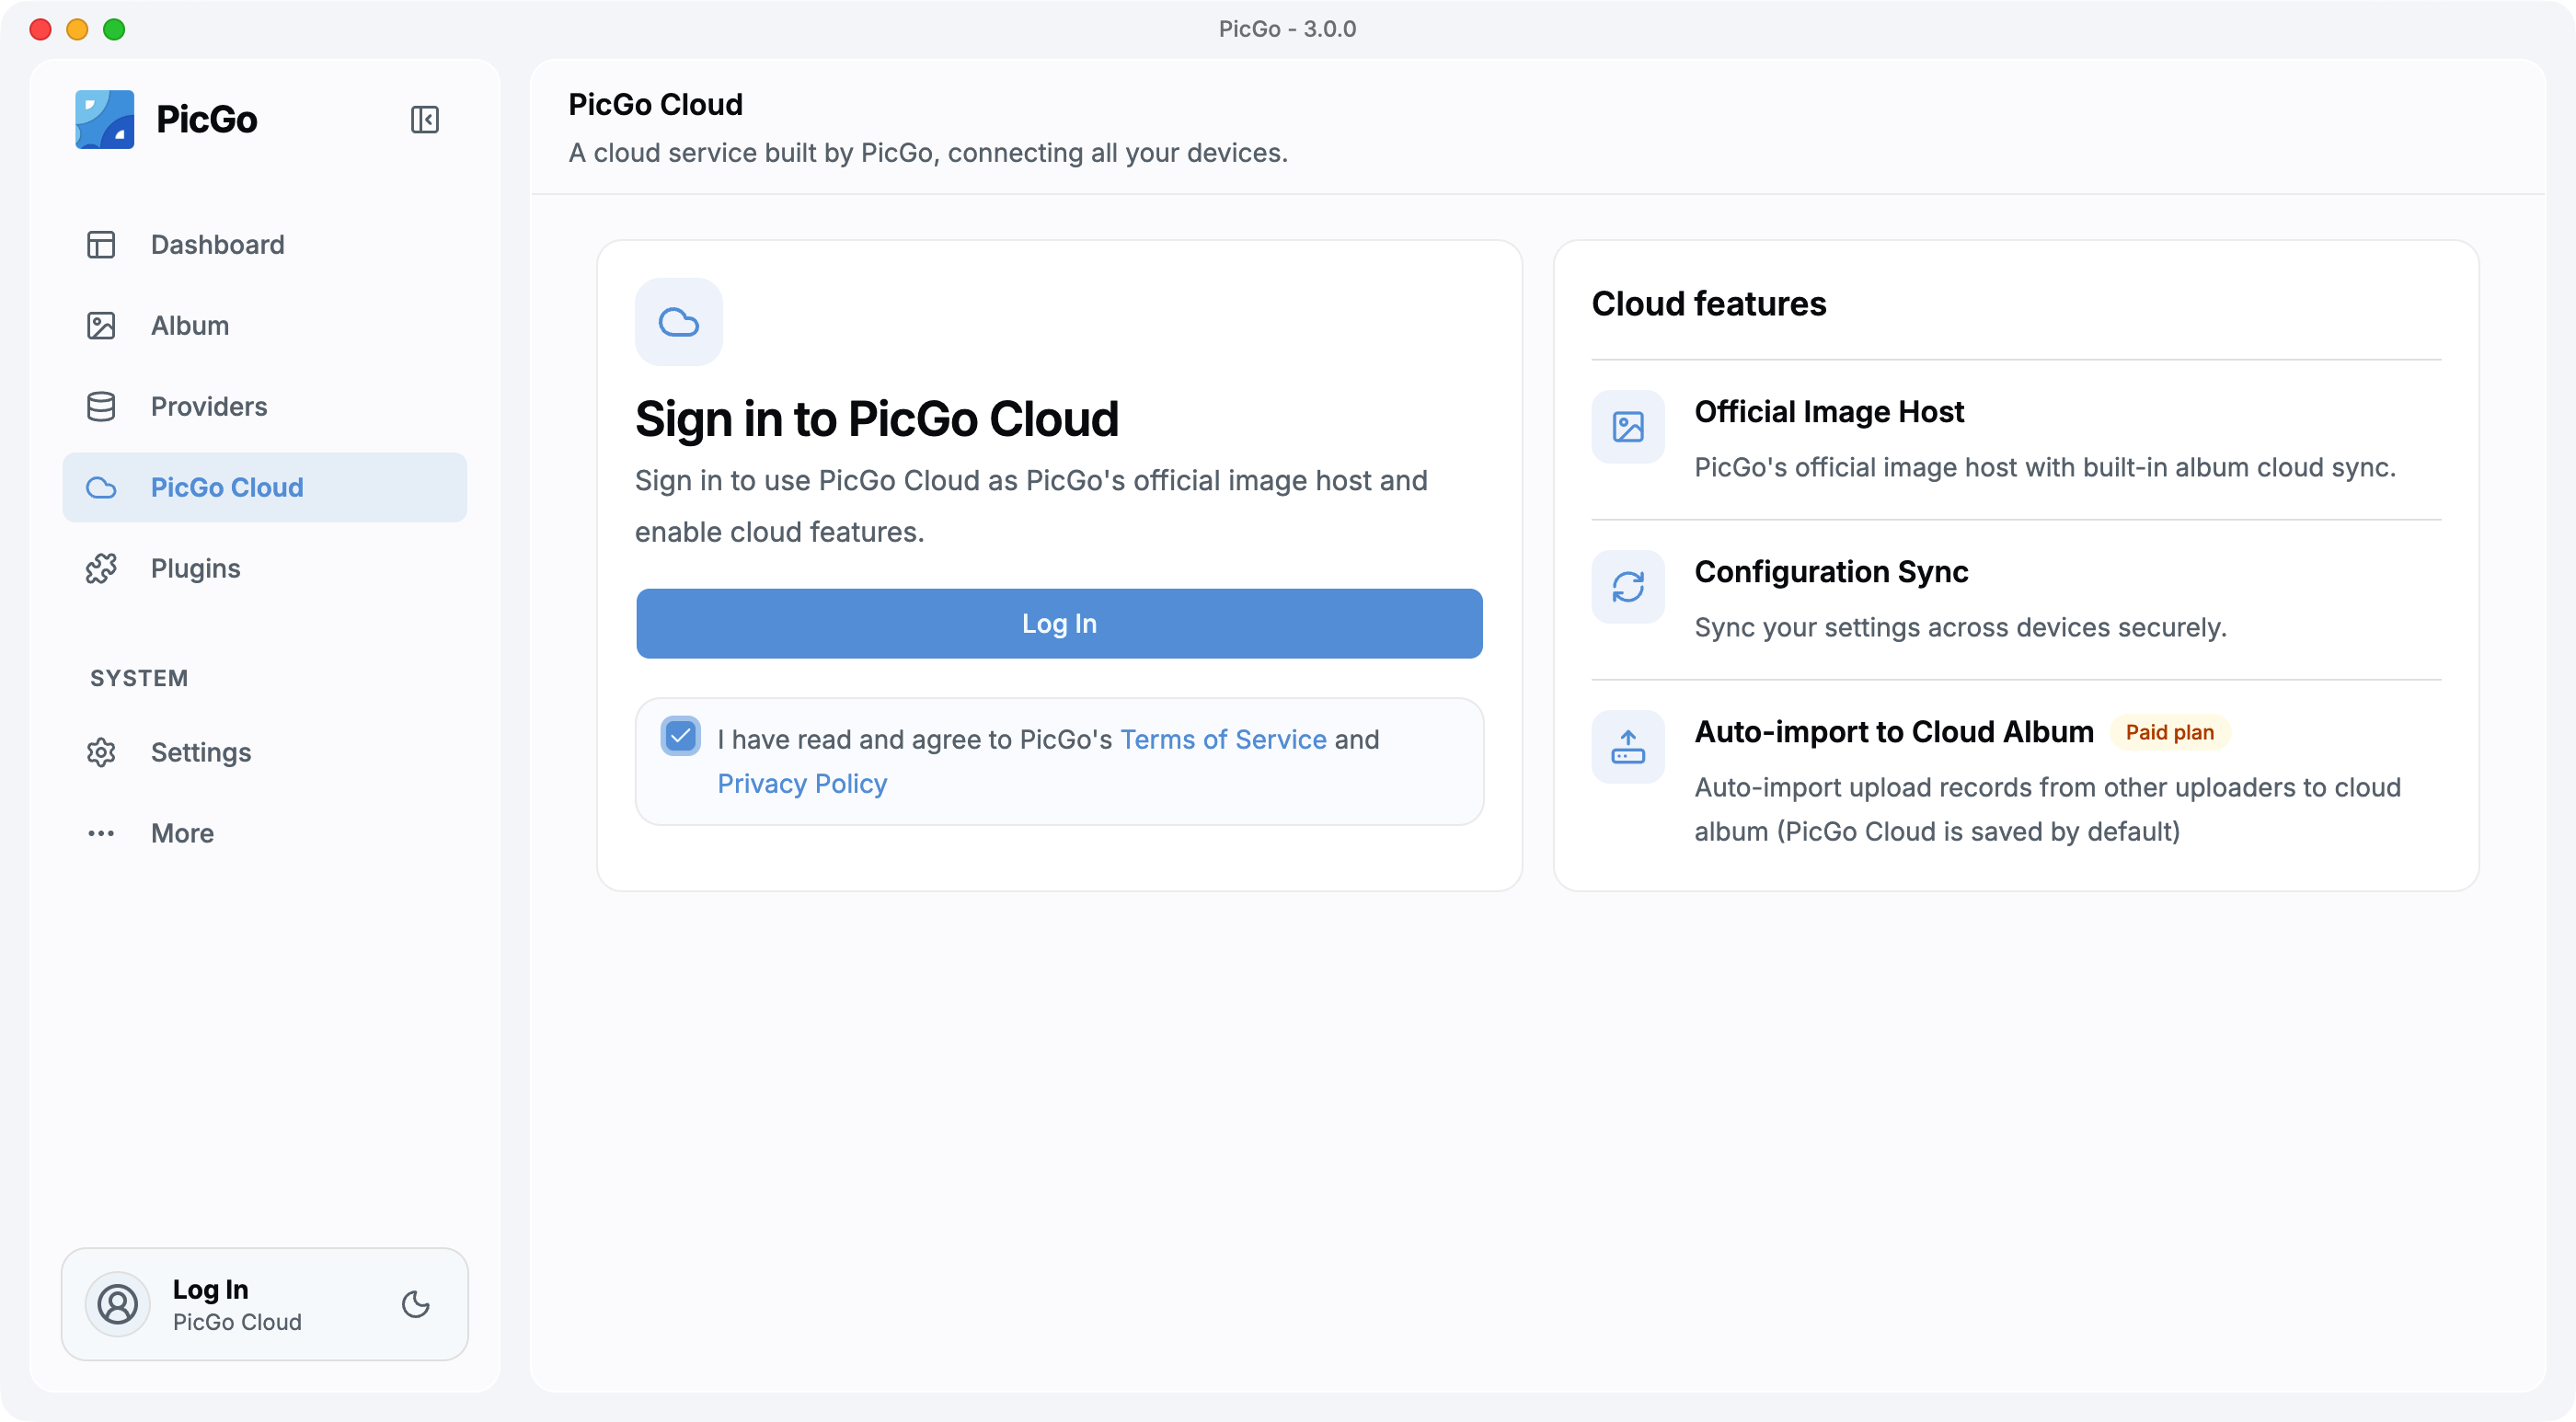
This page explains how to use PicGo Cloud features from the GUI app.
Database: Neon (Serverless Postgres) PicGo Cloud's database is powered by Neon — a perfect fit for modern development workflows:
Serverless architecture: auto-scales, pay-per-use, scales to zero when idle, keeping costs low.
Database Branching: manage database branches like Git branches, making dev and test environments instant.
If you're looking for a modern, cloud-native Postgres solution, we highly recommend Neon. 👉 Try Neon for free
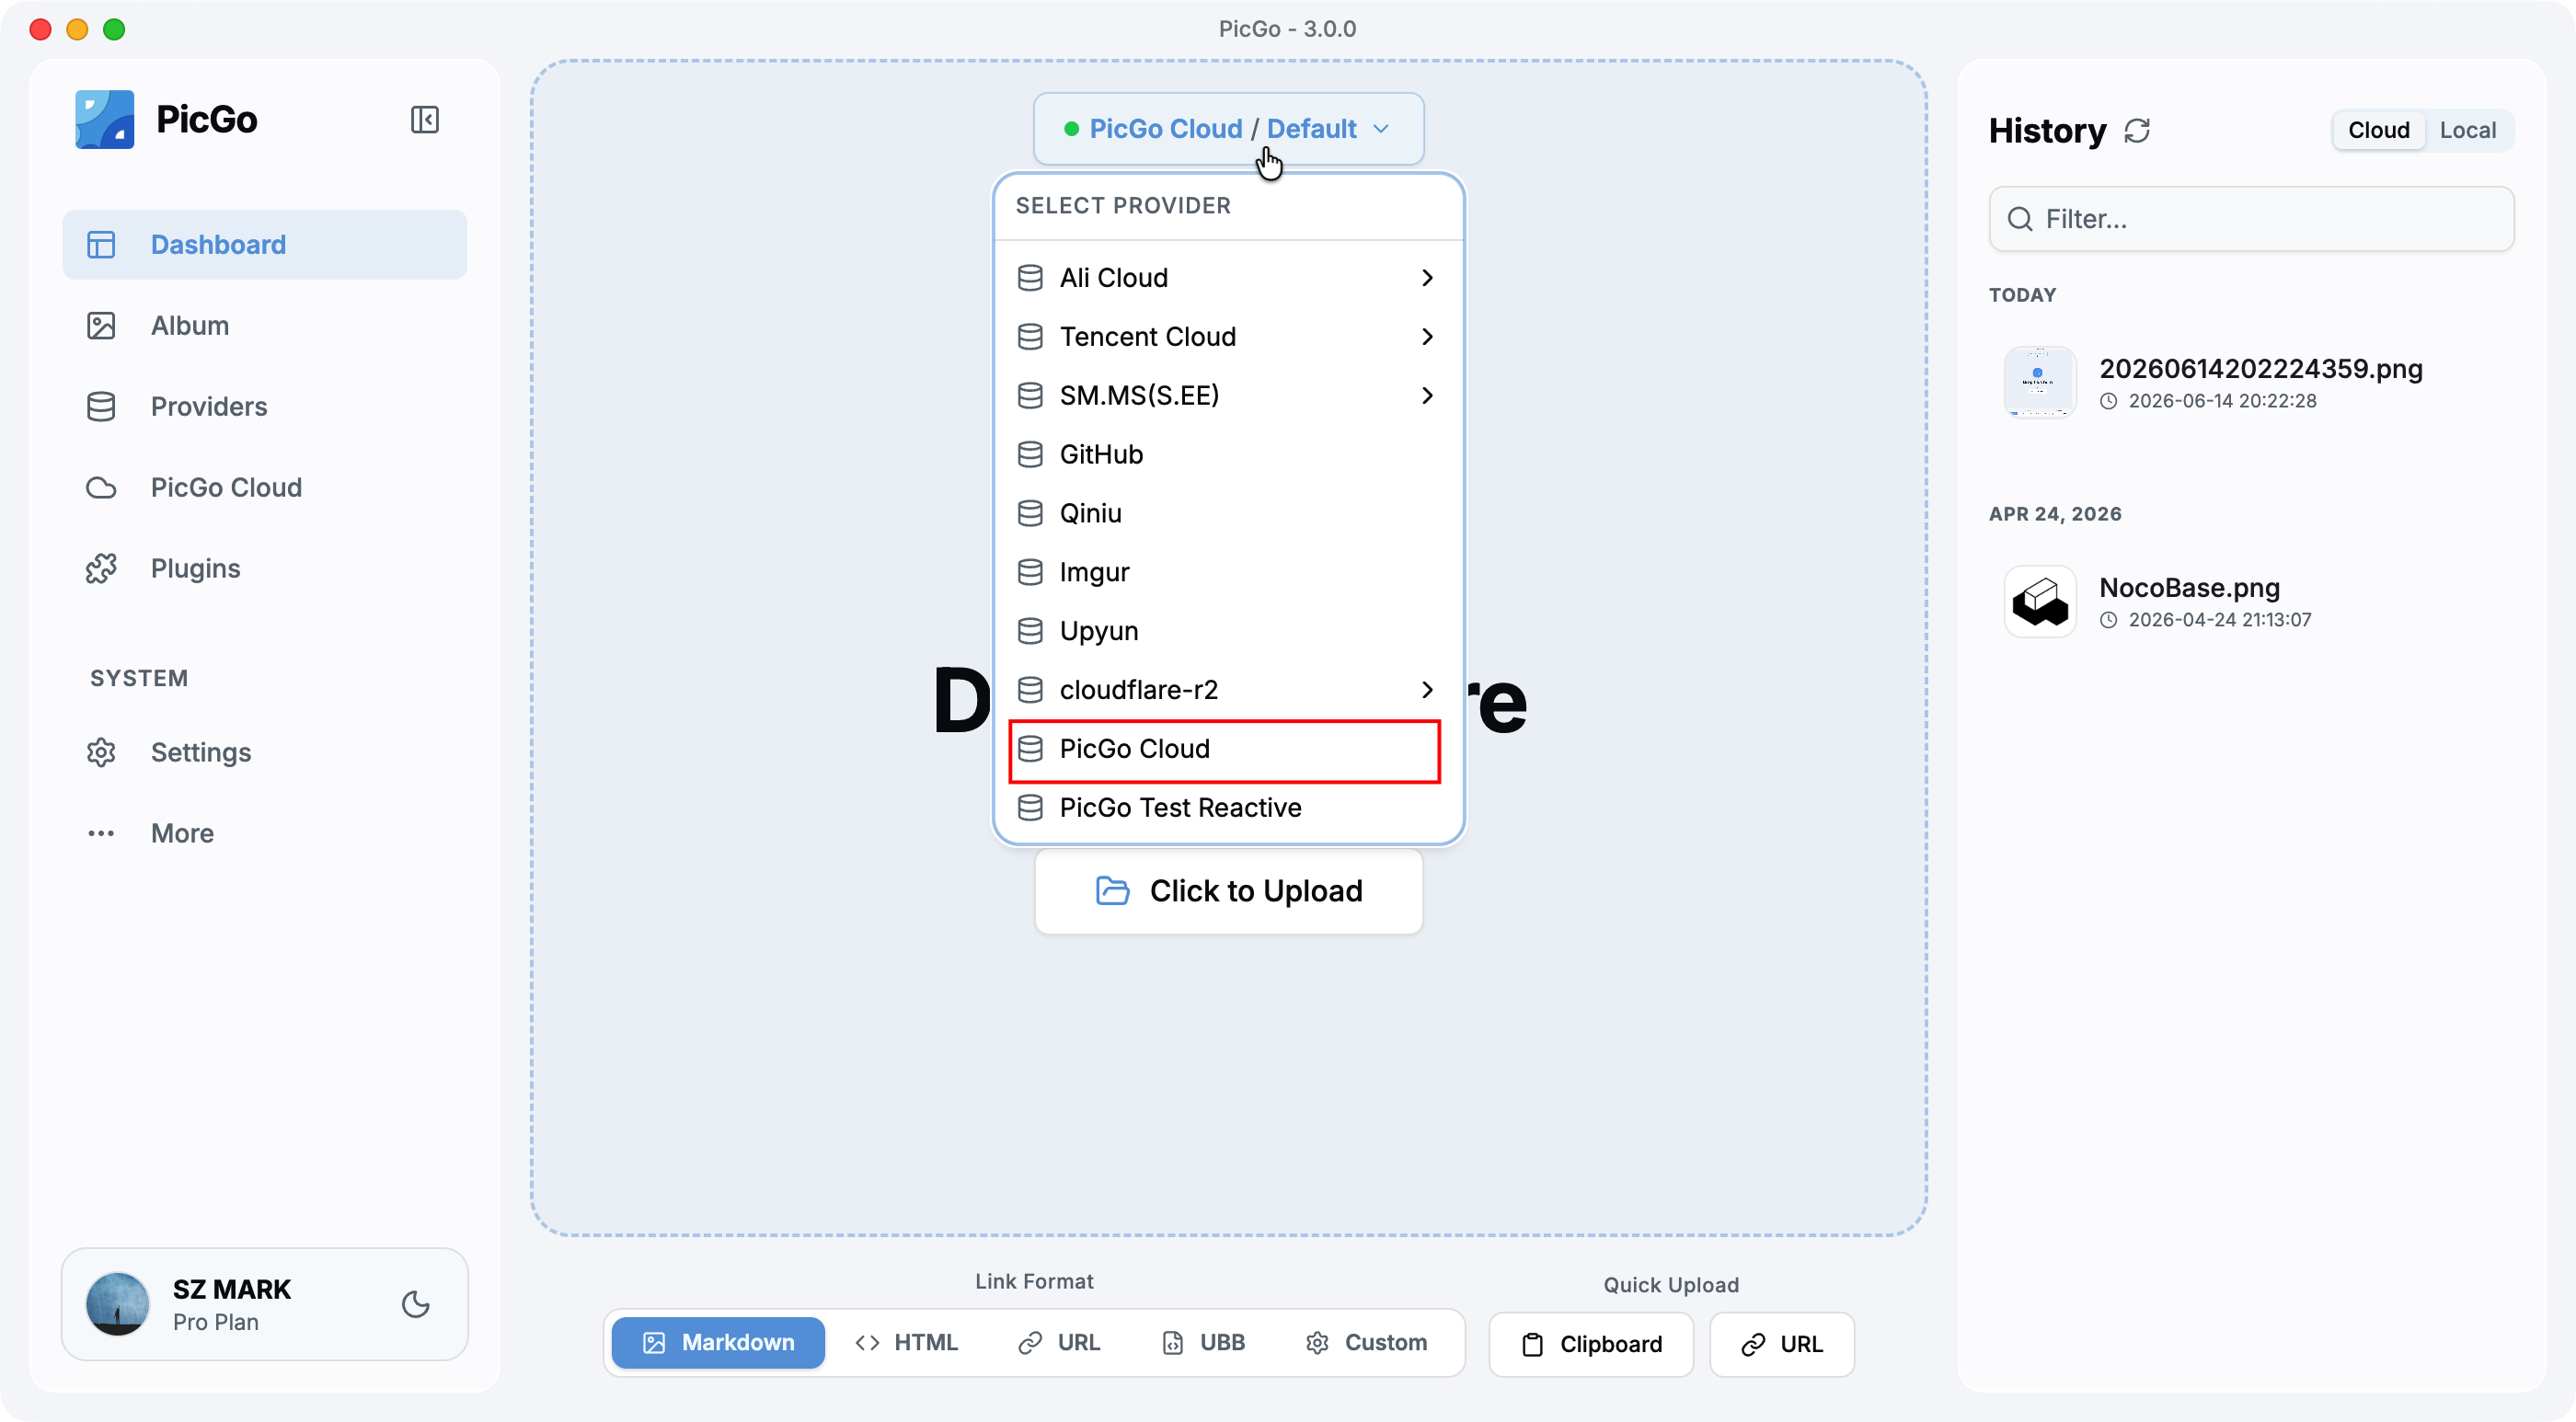
PicGo Cloud is a built-in uploader type in the GUI app. Once logged in, select PicGo Cloud in your uploader settings, then upload via drag-and-drop, screenshots, hotkeys, etc. — just like any other uploader.
For link formats and file visibility details, see File Hosting.
Supported file types go beyond images — videos, audio, documents, and archives are all accepted. See the full list of supported formats.
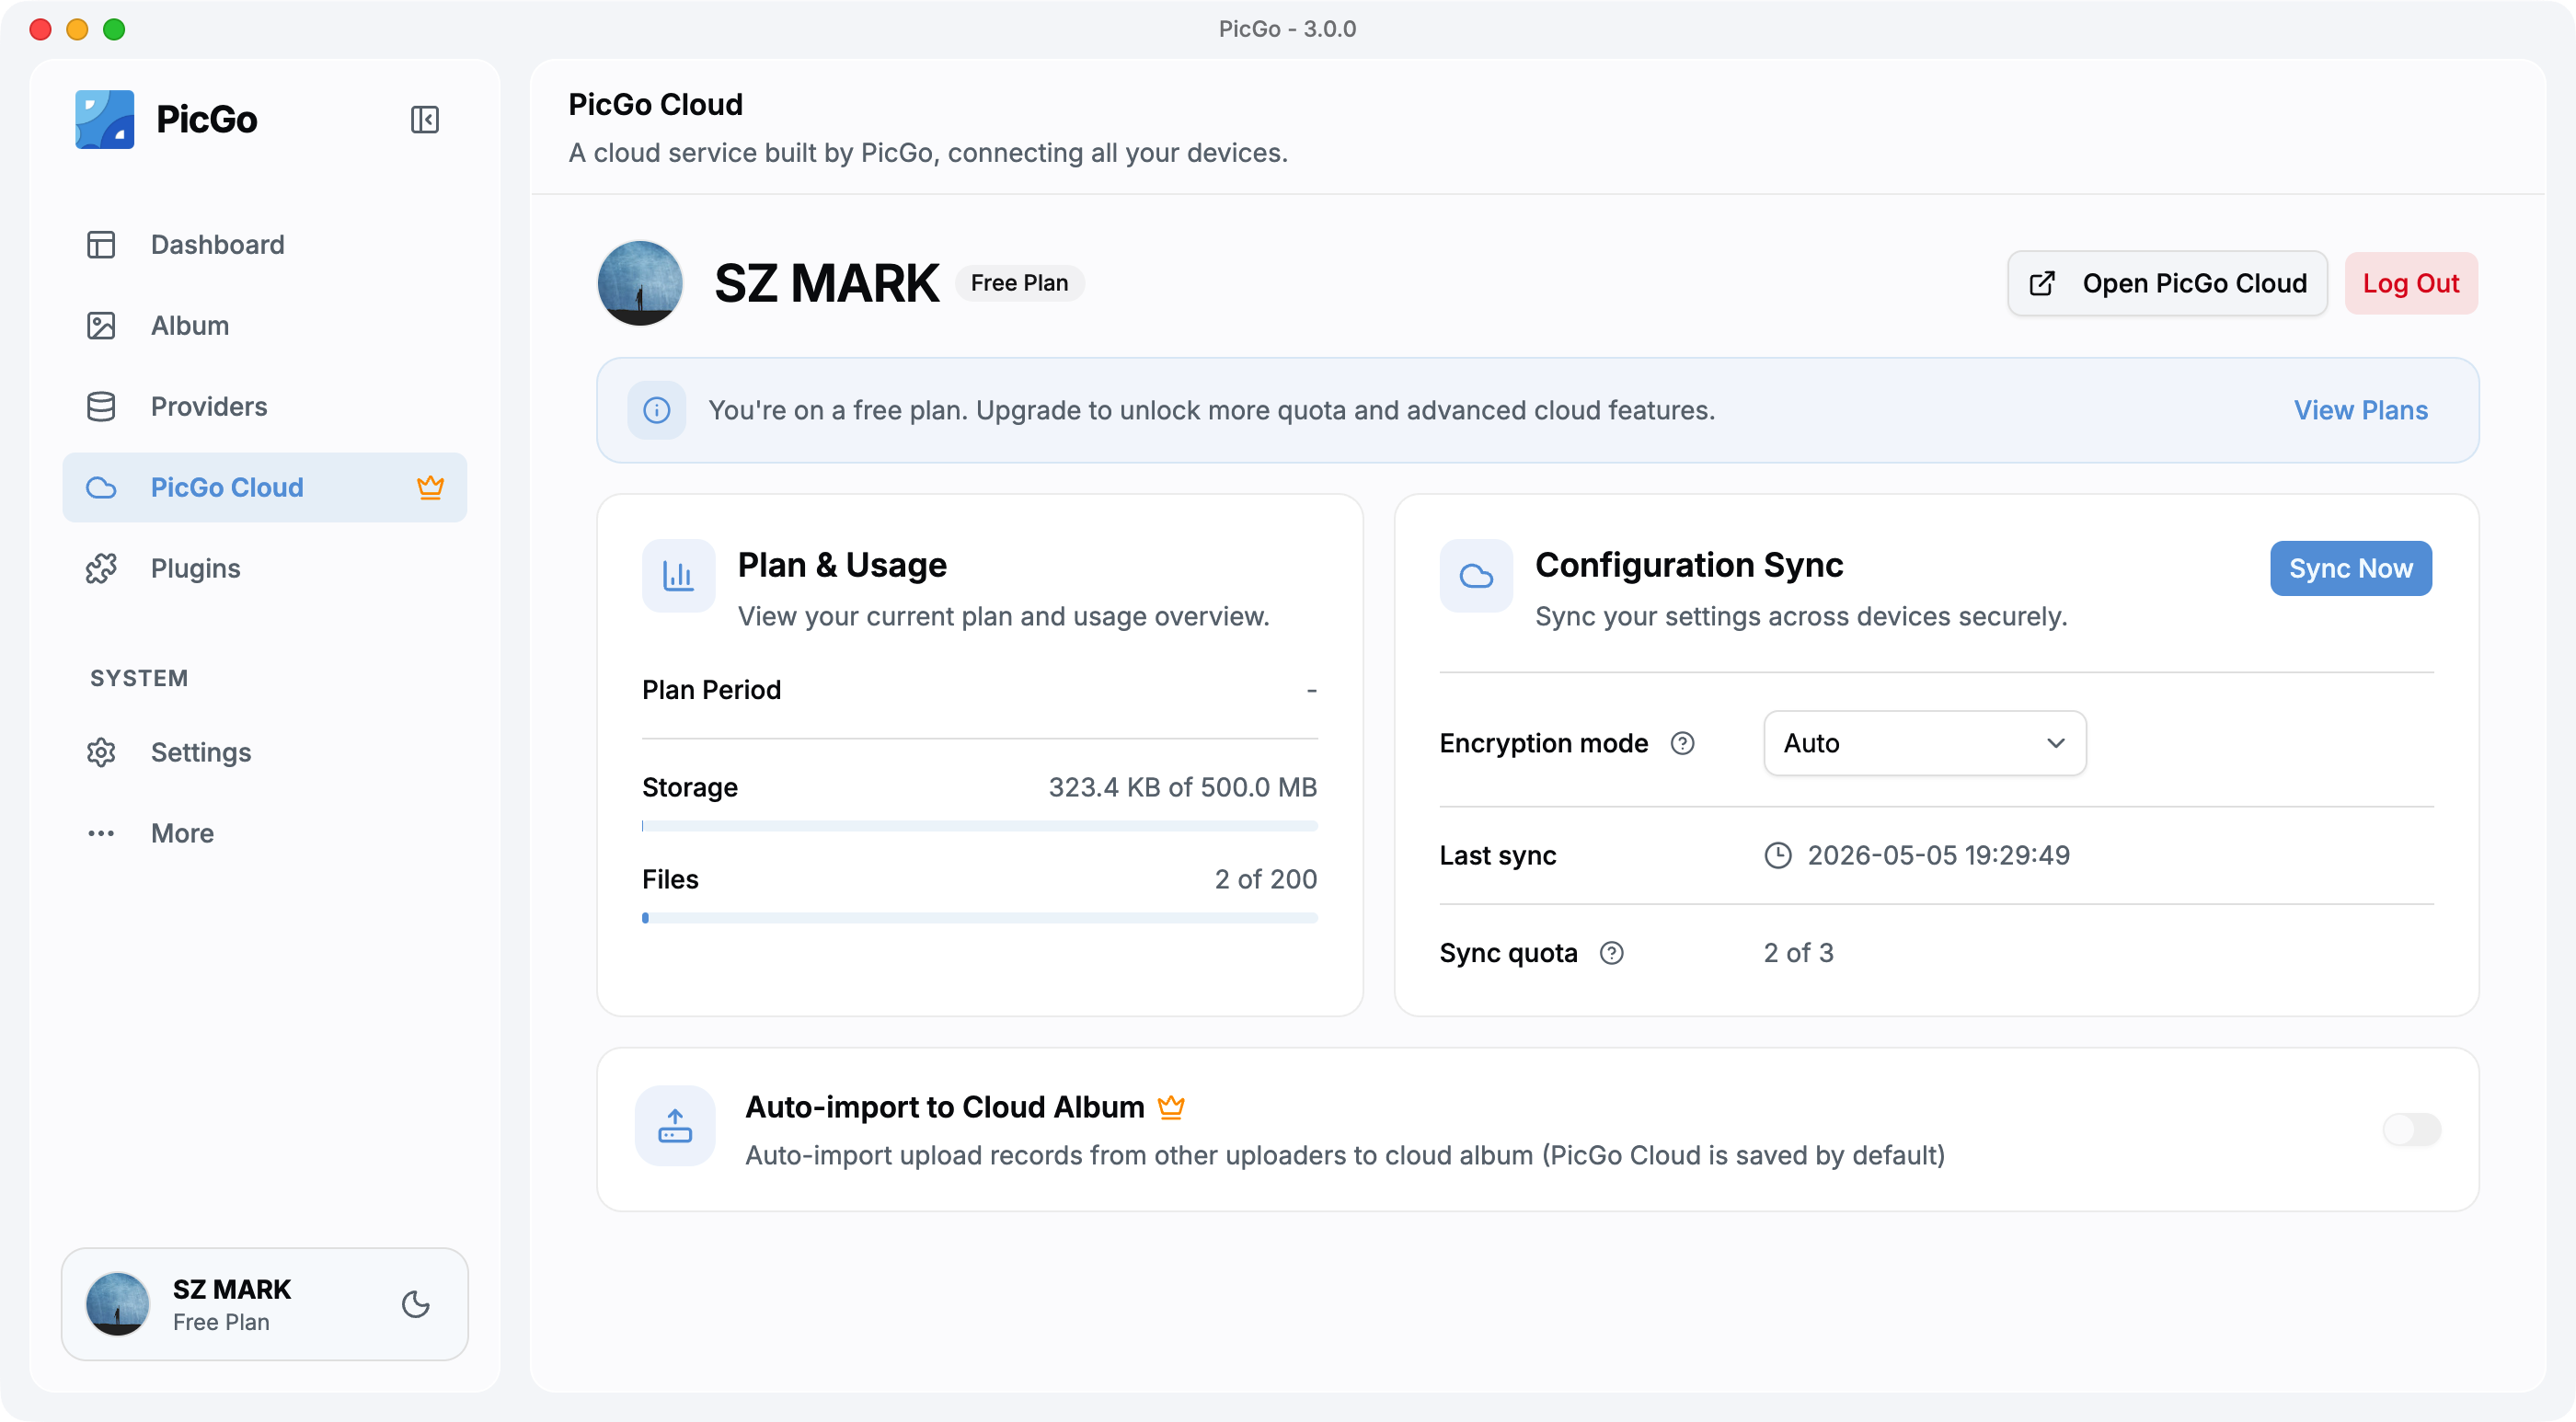
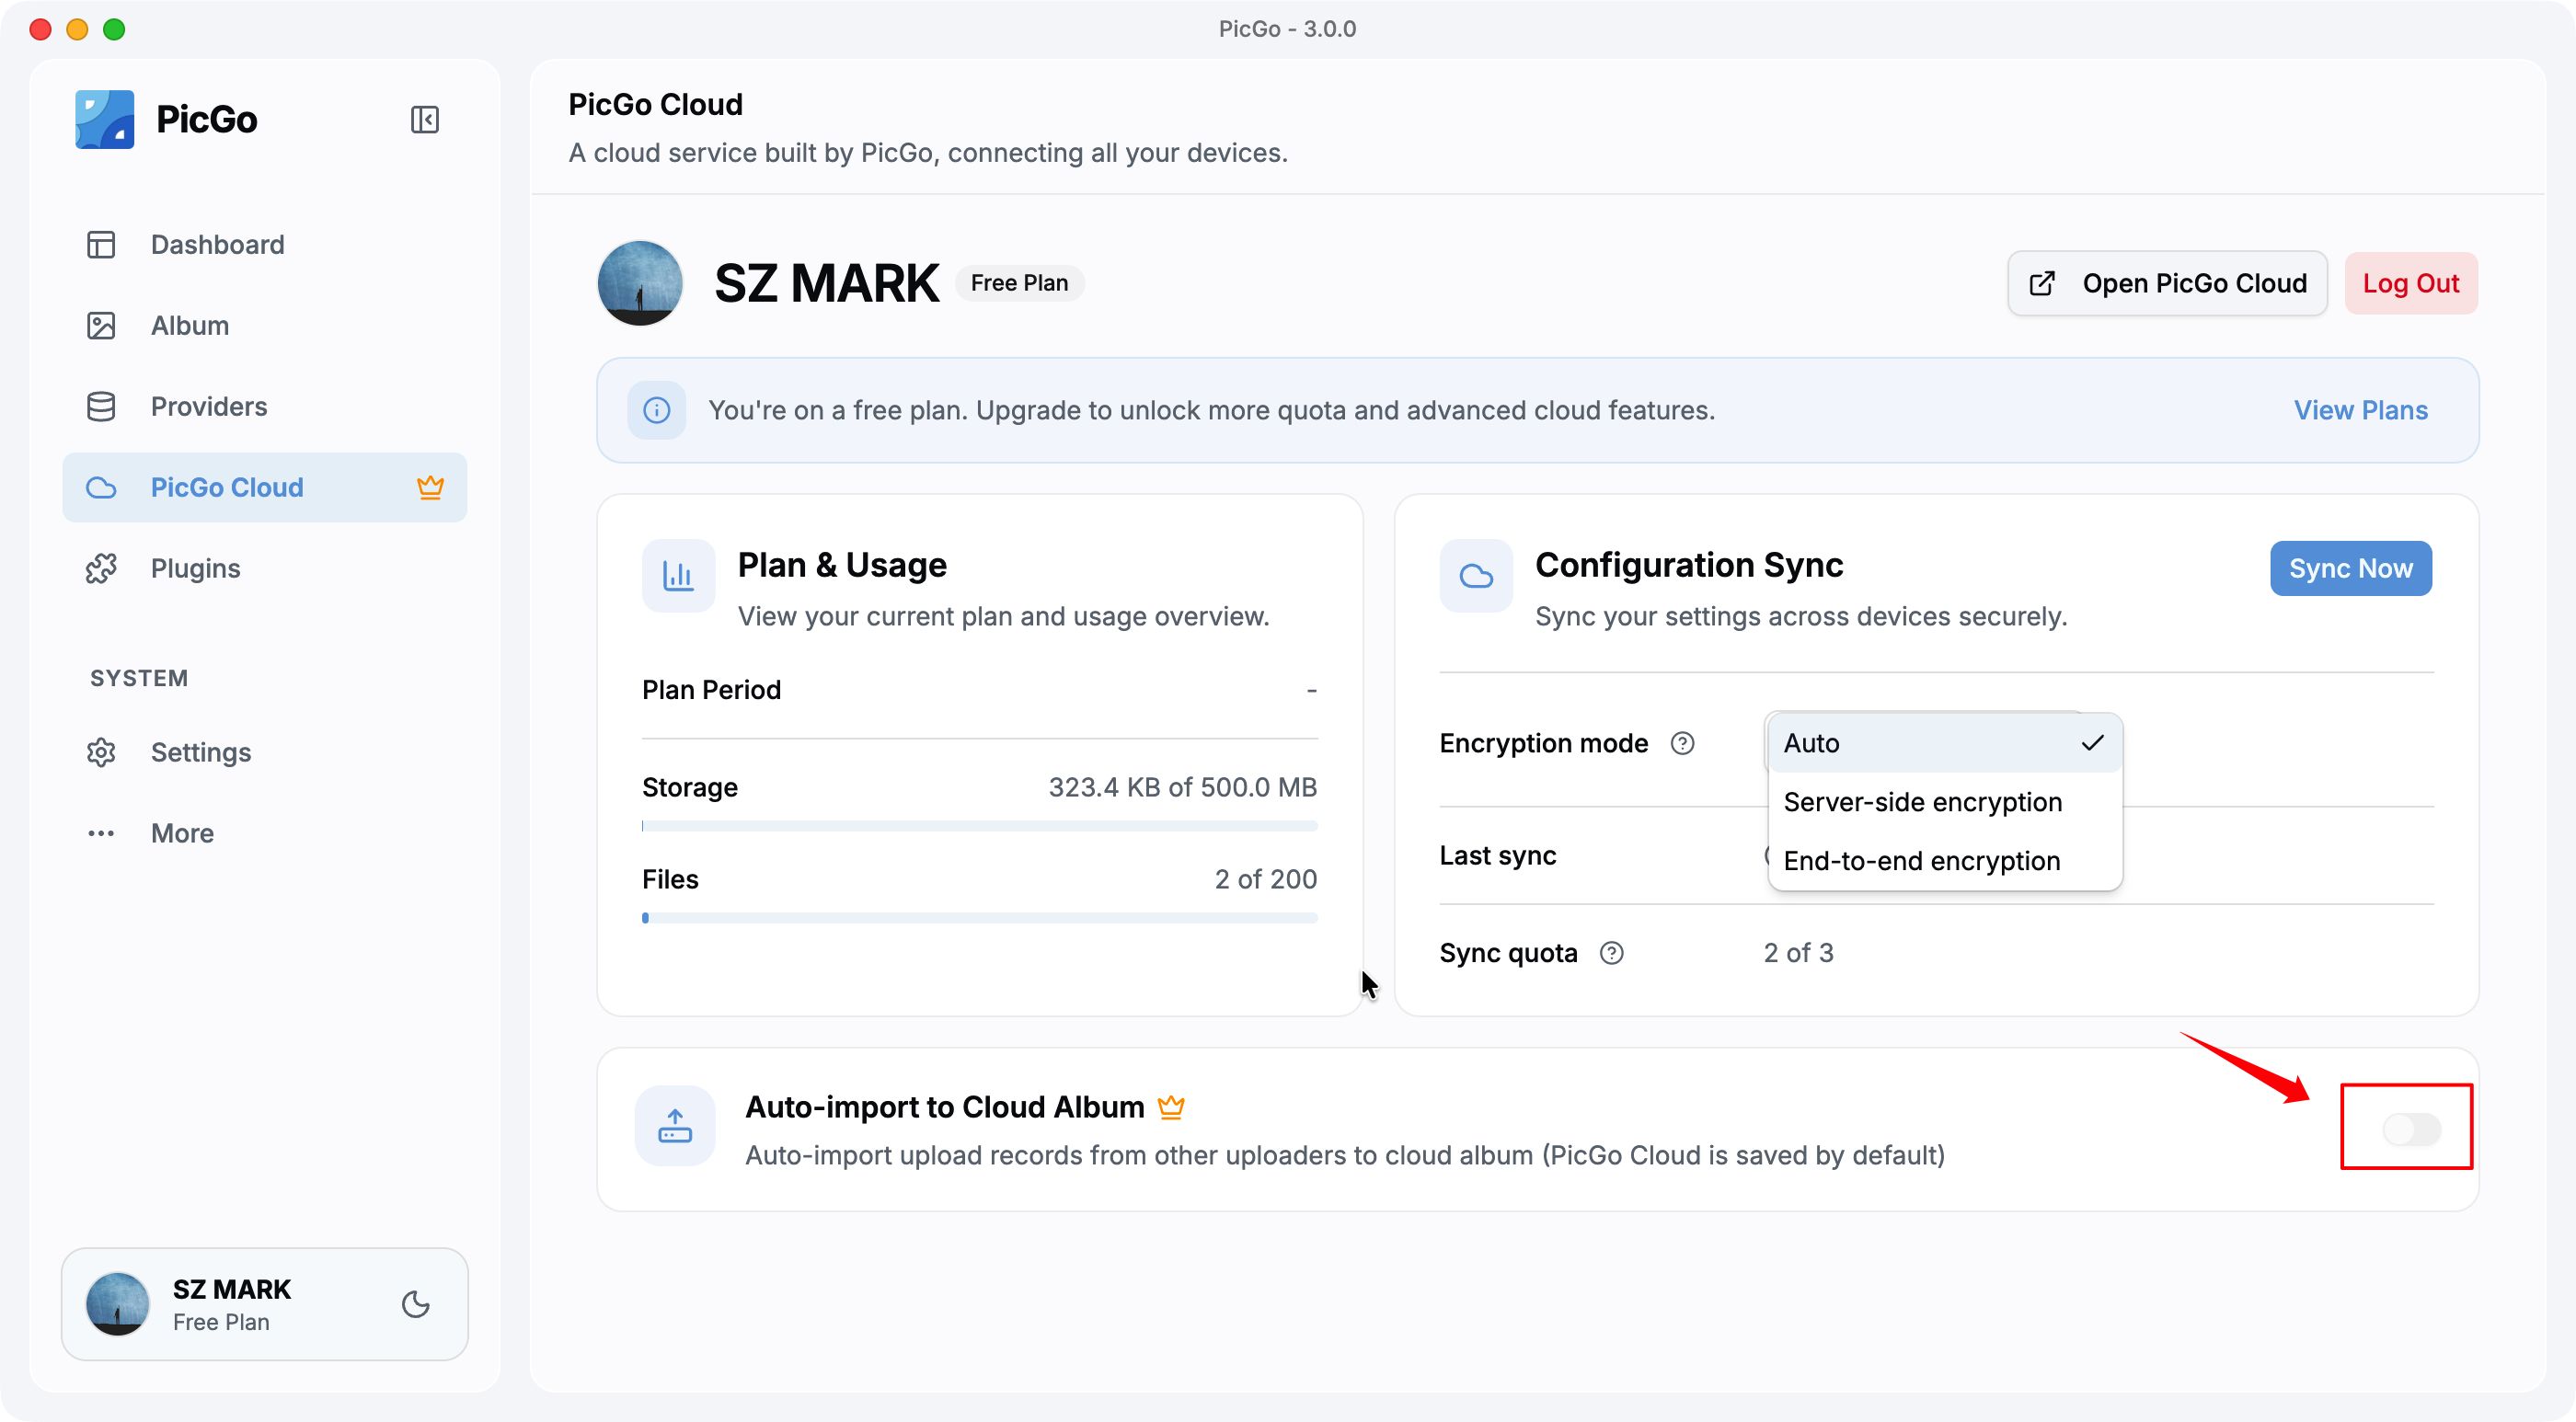
Files uploaded through the PicGo Cloud uploader always appear in the cloud album, regardless of whether this toggle is on.
This feature is for upload records from non-PicGo-Cloud uploaders (e.g. GitHub, AWS S3, Aliyun OSS). When enabled (paid plans only), every file you upload through PicGo — no matter which uploader — has its record (URL, filename, and other metadata) synced to PicGo Cloud's album. PicGo Cloud only stores these records, not the actual files from other uploaders.
You can toggle this on the PicGo Cloud page. The first time you turn it on, PicGo asks whether you'd like to do a one-time import of your existing upload history.
If your paid subscription expires, the GUI shows a status banner (grace period / frozen). For what each stage means and how it affects your service, see Subscription lifecycle.